
How to Set Up Your New Mobile Phone 2025: A Simple Guide to Enjoying Your Device Fully
Introduction
Getting a new mobile phone is an exciting experience, filled with the promise of new features and improved performance. However, the initial setup can sometimes feel overwhelming. Knowing how to set up your new mobile phone efficiently is crucial for maximizing the potential of your device. This comprehensive guide will take you through each step of the setup process, ensuring you have your new phone.
Step 1: Unboxing Your New Phone
Begin by carefully opening the box that contains your new phone. Remove the phone gently and any accessories that may be included, such as the charger, cables, and instructions. Take a moment to inspect everything to ensure that nothing is damaged and that all parts are present.
1.1 What’s in the Box?
When you first open the box of your new mobile phone, you will typically find:
- The mobile phone itself.
- A charger and cable (usually USB-C or Lightning).
- Quick-start A user manual or quick-start guide.
- A SIM card ejector tool.
- Any additional accessories (like headphones or cases).
1.2 Inspecting Your Device
Before setting up, take a moment to inspect your phone for any physical damage. Check the screen, buttons, and ports. If you notice any issues, contact the retailer or manufacturer for support.
Step 2: Charging Your Phone
2.1 Initial Charge
It’s good practice to charge your new mobile phone fully before you start using it. Plug it in using the provided charger and let it charge for at least an hour.When you get a new phone, proper initial charging is essential for maintaining the health of your phone’s battery. Here are some tips and guidelines for the initial charge of a new phone:
2.2 Battery Health Tips
- Avoid letting your battery drain completely before charging.
- Use the original charger to ensure optimal charging speed and safety.

Step 3: Inserting the SIM Card
3.1 Locate the SIM Card Tray
Using the SIM card ejector tool, locate the SIM card tray on your device. This is usually found on the side of the phone.
3.2 Insert the SIM Card
- Use the ejector tool to pop out the SIM tray.
- Place your SIM card in the tray, ensuring it fits properly.
- Reinsert the tray into the phone securely.
Step 4: Powering On Your Device
Unbox Your Device:
- Carefully remove the phone and accessories from the box.
- Check the box for the charging cable, adapter, SIM ejector tool (if applicable), and user manual.
- Insert the SIM Card:
- Use the included SIM ejector tool to open the SIM tray.
- Place your SIM card in the tray, ensuring it aligns properly, and reinsert the tray.
4.1 Turning on the Phone
Press and hold the power button until the logo appears on the screen. Release the button, and your phone will boot up.
Locate the Power Button:
- The power button is usually located on the side or top of the device.
- On some older phones, the power button may be on the back.
- Press and Hold:
- Press and hold the power button for 2-5 seconds.
- Release the button when the phone vibrates, or when the manufacturer’s logo (e.g., Samsung, Apple, etc.) appears on the screen.
4.2 Initial Setup Screen
Once powered on, you will be greeted by the initial setup screen. Follow the prompts to begin configuring your device.
- Choose Your Language:
- Select the language you prefer for the phone’s system and menus.
- Commonly found on the very first screen.
- 2. Region or Country:
- Select your current location to set region-based settings like time, date, and currency.
- 3. Connect to Wi-Fi:
- If you have a Wi-Fi network available, connect to it for downloading updates and syncing your account.
- You can skip this step and use mobile data, but Wi-Fi is recommended.
Step 5: Selecting Your Language and Region
Language Selection:
- On the first setup screen, you’ll see a list of available languages.
- Scroll through the list to find your preferred language.
- Tap on the language you want. For example:
- English (United States)
- Español (España)
- Français (Canada)
Region or Country Selection:
- After selecting the language, you’ll be prompted to choose your region or country.
- This setting is important for:
- Time zone and date formatting.
- Currency formats.
- Regional features (e.g., app availability, language packs).
- Scroll through the list, tap your country or region, and confirm.
Confirm Your Selection:
- Once you’ve chosen both the language and region, the phone will proceed to the next step in the setup process.
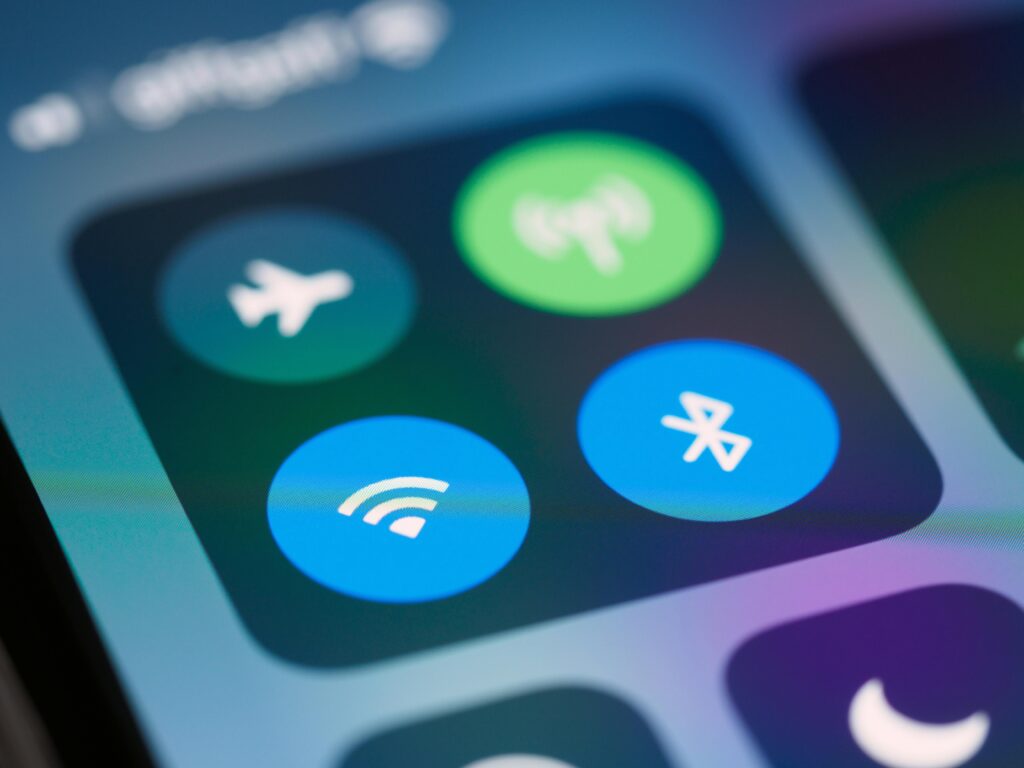
Step 6: Connecting to Wi-Fi
6.1 Selecting a Network
You’ll need to connect to Wi-Fi to complete the setup. Choose your Wi-Fi network from the list and enter the password.
6.2 Testing the Connection
Once connected, test your internet connection by opening a web page or app.
Step 7: Signing in or Creating an Account
7.1 Google Account (Android) or Apple ID (iPhone)
- For Android: Sign in with your Google account. If you don’t have one, you can create it during this step.
- For iPhone: Sign in with your Apple ID. If you don’t have one, you can create it as well.
7.2 Benefits of Signing In
Signing in allows you to access the app store, backup your data, and sync your contacts and calendars.
Access to Cloud Services:
- Google Account: Syncs with Google Drive, Gmail, Google Photos, and Calendar.
- Apple ID: Syncs with iCloud, iMessage, FaceTime, and Apple services.
- You can back up and restore your data (contacts, photos, messages, and app data) automatically.
2. Seamless App Store Access:
- Google Play Store (Android) or App Store (iOS) requires an account to download apps, games, and updates.
- Enables secure purchases for premium apps, subscriptions, or in-app content.
Step 8: Restoring Data from Previous Devices
8.1 Options for Data Transfer
If you are upgrading from an old phone, you may have the option to restore data during the setup process. This can include:
- Apps
- Contacts
- Messages
- Photos
8.2 Using Migration Tools
Benefits of Using Migration Tools
- Quick and easy data transfer.
- Restores settings, app layouts, and personal preferences.
- Avoids manual backups or re-downloading apps.
Migration Tool Options
The tools you use depend on the platforms of your old and new devices:
1. From an Old Android to a New Android
- Google Account Sync: Automatically restores contacts, photos, apps, and settings if you sign in with the same Google account as your old phone.
- Samsung Smart Switch (for Samsung devices):
- Transfers data via cable, Wi-Fi, or cloud.
- Manufacturer-Specific Tools:
- Example: OnePlus Switch for OnePlus devices.
Step 9: Setting Up Security Features
9.1 Choosing a Security Method
To protect your phone, set up a security method, which may include:
- PIN or Password: A numerical code or alphanumeric password.
- Fingerprint Recognition: Use your fingerprint for quick access.
- Face Recognition: Use facial recognition technology for security.
9.2 Enabling Find My Device
Enable features like “Find My iPhone” or “Find My Device” for added security in case your phone is lost.
Step 10: Customizing Your Home Screen
10.1 Arranging Apps
Organize your home screen by dragging and dropping apps to your preferred locations. You can also create folders for better organization.
10.2 Changing Wallpaper
Changing your wallpaper can refresh the look of your device. Here’s how to do it on various platforms:
1. Windows
- Right-click on the Desktop: Select “Personalize.”
- Choose “Background”: Select an image from the options or click “Browse” to choose your own.
- Select Fit: Choose how you want the image to fit (Fill, Fit, Stretch, etc.).
Step 11: Installing Essential Apps
11.1 Accessing the App Store
Open the Google Play Store (Android) or the App Store (iPhone) to browse and download apps.
11.2 Recommended Apps
- Social Media: Instagram, Facebook, Twitter
- Productivity: Microsoft Office, Google Drive, Trello
- Communication: WhatsApp, Slack, Zoom
Step 12: Setting Up Notifications
Setting up notifications helps you stay informed without constantly checking your devices. Here’s how to manage notifications on various platforms:
1. Windows
- Open Settings: Click on the Start menu and select the gear icon.
- Go to “System”: Click on “Notifications & actions.”
- Customize Notifications: Toggle notifications on or off for specific apps and adjust additional settings.
12.1 Notification Preferences
Customize your notification settings for each app. Decide which apps send alerts and choose the types of alerts you want to receive.
12.2 Do Not Disturb Mode
Learn how to activate and customize “Do Not Disturb” mode for uninterrupted time and a more focused and uninterrupted experience.
Setting up notifications helps you stay informed without constantly checking your devices. Here’s how to manage notifications on various platforms:
1. Windows
- Open Settings: Click on the Start menu and select the gear icon.
- Go to “System”: Click on “Notifications & actions.”
- Customize Notifications: Toggle notifications on or off for specific apps and adjust additional settings.
Step 13: Exploring Additional Features
13.1 Voice Assistants
Set up voice assistants like Google Assistant or Siri to help you manage tasks, set reminders, and answer questions hands-free.
13.2 Accessibility Features
Explore accessibility options to enhance usability, such as voice commands, magnification, and text size adjustments.
Step 14: Backing Up Your Data
14.1 Cloud Backup Options
Set up cloud backup through Google Drive (Android) or iCloud (iPhone) to ensure your data is safe and easily retrievable.
14.2 Local Backup
Consider backing up your phone to a computer using software provided by the manufacturer.
Conclusion
Setting up your new mobile phone can be a straightforward and enjoyable process when you follow the right steps. By understanding how to set up your new mobile phone, you can ensure that your device is personalized, secure, and ready for use. Take advantage of the features and settings available to maximize your mobile experience.
Welcome to my page: https://www.xafsashariif.com
Read this article; it’s very useful https://www.xafsashariif.com/how-to-become-a-web-developer/